

SpaceObServer Resources
In the Resources section you will find helpful information about SpaceObServer. Just ask our chatbot - or check out our guides.
Helpful SpaceObServer Guides
We will help you with your first steps with SpaceObServer!
Show transcription
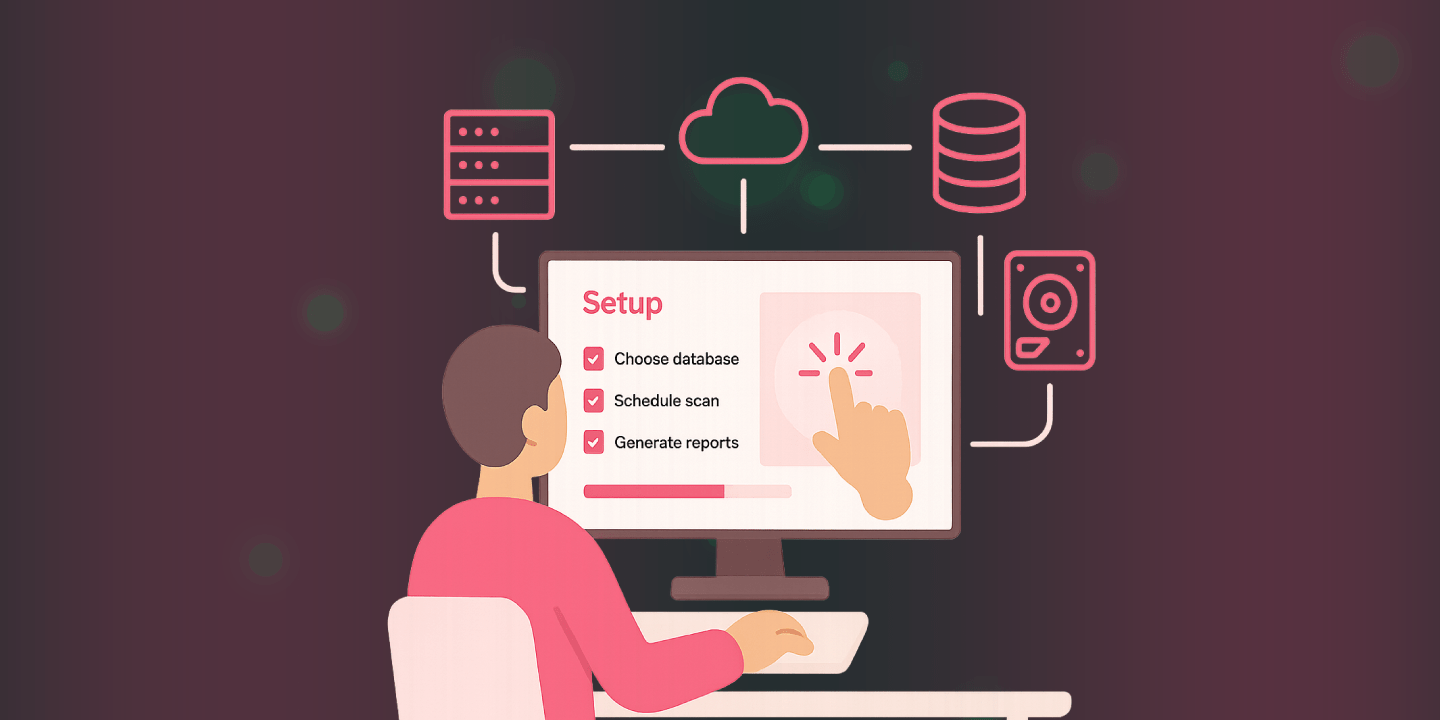
Hello, my name is Severin Novak. I'm in the technical support team here at JAM Software, and today I'm going to show you the first steps in setting up SpaceObServer.
Let's start with the installation. The first thing we need to consider when installing SpaceObServer is the scan service logon account. Basically, SpaceObServer uses a scan service to scan everything, and you want to decide during the installation whether you want to use a dedicated account. Otherwise, SpaceObServer will use the standard service account, which might lead to a connection problem with the database when you use Windows authentication for the connection. So let's just enter my credentials here, and then we can continue.
[On Screen: A window titled "Setup - SpaceObServer" is shown. The presenter enters a user name, a domain, and a password, then clicks "Next >". A dialog briefly appears showing "Installing / Starting SpaceObServer System Service". Soft, quiet background music plays.]
When first opening SpaceObServer, it shows you a message where you can choose which database you want to use. There are a few different types of database you can use with SpaceObServer. For example, you can use an existing SQL Server, such as MS SQL, MySQL, or Oracle, you could install a free SQL Express (MS SQL Express) version, or you can use the SpaceObServer embedded database. One thing to note is that the embedded database is easy to use because SpaceObServer configures everything automatically, but we only recommend it for testing purposes or with small amounts of data, because performance with the embedded database is not good with larger amounts of data. You can also install a free SQL Express version, which is more capable of dealing with larger data, but the SQL Express version has a limit of 10 gigabytes per database, which – depending on what you want to scan – might be reached with SpaceObServer. So in larger environments we always recommend using an existing SQL Server such as MySQL, MS SQL, or Oracle.
So we just set up the database connection. As you can see on the bottom left, we already have some scans configured in this database, but we'll just start with a new scan from scratch. For this, I'm going to click on "Add Scan", and I get a window where I can configure what I want to scan. For example, I can go to "More" here and then select something that I want to scan, for example my picture folder.
Then I can directly set up a schedule for how often SpaceObServer should update the data of the scan, so that I always have up-to-date data for this particular scan. For example, I can set it to run every day at 8 o'clock in the morning.
[On Screen: Under "Schedule", the presenter selects "Every Day", enters "08:00" as the "Scan Time", and ticks the "Execute initial scan after creation" checkbox. Keys are clacking.]
Here we have some additional options we can choose when configuring a scan. For example, a different user account to scan a directory, or I can choose to calculate MD5 checksums for more accurate duplicate detection, which I'll select now. I can also calculate permissions and store them in the database, which allows me to check permissions on files and folders. Both of these options may affect the scanning speed, so they are normally deactivated.
After we've created a scan, I can go to "Scan" > "Configure Scans" and view all the different scans that I've set up here. I can then reconfigure anything, such as the settings I made earlier, or update the schedule I want to use. I can also set how long I want to keep scan data in the database per scan, or configure some extra filters and other settings for the different scans.
One thing to note here is that I have some containers configured. What a container does is basically group different scans together. I can also group containers into other containers to create a hierarchical structure. For example, I can take this test container and group it into a different container, and also group the "multiple scan targets" container into a container. I can then load the entire container and get all the analysis for the complete container, not only for the single scan targets.
Another thing that is specific to SpaceObServer is that it can create automatic reports based on your scan schedule configuration. You can find those in the scan configuration under "Post-Scan Actions" > "Automated Reporting". Post-scan actions are basically things that SpaceObServer triggers after a scan has finished. For example, I have a post-scan action here under "Automated Reporting" that can generate different files and views from the SpaceObServer UI directly after a scan has finished, or it could be sent via email directly to me. When adding a post-scan action, I can configure what I want to export under "Export". Every post-scan action is based on the directory tree. I can then select the file format that I want to export. For example, I'm just going to export an Excel file here, and I can also include different charts or lists, such as the duplicate files list, to be exported.
[On Screen: A file dialog opens. The presenter types "Duplicated.csv" into the "File name" field and clicks "Open" at the bottom right of the window. Keyboard clicking can be heard.]
So I can export basically every view available in SpaceObServer. If I save this task, I can name it, and it will be generated automatically after each scan. Here we can see the different files that I've created for this particular scan. If I open it, I get an Excel file with the regular scan, which is basically the directory tree of the export. I also get the duplicate files directly in the Excel file as well.
For post-scan actions, you also have the option for data lifecycle operations, which are configured to be done after the scan. If I add one, I can configure a maximum file age for different files. For example, if I only want to affect files that haven't been modified in the last 2 years, I can configure this and, for example, delete those files or move them to a different location. I also have some other options for this operation, such as creating a log to see what happened during these operations, deleting empty directories, or a range of other options that I can configure for this file operation based on the timestamp. I can also name it and create it for each scan, if I want to manage files based on the different ages of the files.
That's all. Thank you for watching our video. Find more information about SpaceObServer on our website, and see you again soon.


Need Help Setting Up SpaceObServer?
We offer you high-quality live support from our product team during the initial setup of SpaceObServer. Why not give it a try!
Online Manual
Are you looking for detailed information on SpaceObServer features? Have a look at our comprehensive online manual and take advantage of in-depth know-how on our powerful database-based disk space manager.
Compatibility & Supported Languages
SpaceObServer supports all current Windows and Windows Server operating systems (64-bit). The required .NET Framework 4.8 (or higher) will be installed automatically if required. Please also check the minimum system requirements.
Supported Operating Systems
- Windows 11
- Windows 10
- Windows Server 2025
- Windows Server 2022
- Windows Server 2019
- Windows Server 2016
Supported Databases
- Microsoft SQL Server 2017-2025*
- Microsoft SQL Azure
- PostgreSQL 17 or higher
*Microsoft SQL Server Standard is available in a bundle with SpaceObServer.
Supported Languages
- German
- English
- Bulgarian
- Chinese (simplified)
- Czech
- Danish
- Dutch
- French
- Greek
- Hungarian
- Italian
- Japanese
- Norwegian
- Polish language
- Portuguese
- Slovenian
- Spanish
- Turkish
- Vietnamese
Any Questions?
You haven't found an answer or have any other request? Contact us!