


Show transcription
[On Screen: The SpaceObServer website by JAM Software, followed by the application interface.]
In today's enterprise environments, data grows quickly and understanding what's on your servers becomes increasingly difficult. SpaceObServer brings order and automation to your storage landscape. Let's take a closer look.
The first step is scanning your storage. Select the drive you want to scan and set a schedule for automatic scanning — daily, weekly, or monthly.
[On Screen: The “Add Scan” dialog. A scan target and scan type are selected — Windows file system, SSH (Linux/Unix), Amazon S3, Azure Blob Storage, SharePoint, WebDav, or Exchange — along with a scan location and schedule.]
You can also start a scan manually at any time.
[On Screen: The Configure Scans window lists several servers and drives with their last scan, next scan, duration, and status; a scan runs and counts the files.]
Note that it may take slightly longer if you're running a scan for the first time, or if the number of files is very large.
Once the scan completes, double-click to view the results. A folder tree appears on the left. Click on charts to quickly visualize storage usage, in the form of pie charts and bar charts.
[On Screen: Storage usage is shown as a bar chart and a tree map, broken down by folder.]
To track storage growth over time, open the History tab. You can change the time frame to the current year, previous year, or a custom range.
[On Screen: A time-frame selector (whole time span, last year, this year, or a custom range) and a line chart plotting total disk space over time.]
You also have the option to view size changes directly in the folder structure. Compare used space against total capacity to see how much free space is left and how fast it is being consumed. This helps you stay ahead in storage planning and optimization.
[On Screen: The folder tree marks size changes with plus and minus values; deleted folders are highlighted.]
To get an overview of subfolder sizes within a specific folder, go to the Details tab. Top Files is another powerful way to view all files on a drive, sorted by size, creation date, and more. With a right click, you can add or remove attributes if needed.
[On Screen: A right-click menu lists columns and attributes that can be shown or hidden — size, path, owner, creation date, extension, permissions, and more.]
Under Top Files, it is easy to identify bulky or outdated files, and these files can be handled directly in SpaceObServer: you have the option to delete, move, or zip them, and if the logging option is selected, a log record is created after execution.
[On Screen: A confirmation dialog appears before a file is permanently deleted.]
Copies of the same files are often stored across servers. Use the Duplicate Files option to view them at a glance. You can fine-tune duplication criteria such as file name, file size, or MD5 checksum, which helps identify exact duplicates, so you can detect duplicate content even if stored under different names or file types.
[On Screen: The Duplicate Files view groups identical files found across different folders and servers.]
What really sets SpaceObServer apart is automation. Instead of relying on ad hoc cleanups, you can create policies — for example, backing up files older than five years on a server. Select the server and click the Add button, under Data Lifecycle Management.
[On Screen: The “Data Lifecycle” dialog defines an automated action for the scan target — delete, move, copy, or zip items — with a destination, options such as keeping the originals and preserving the folder structure, and optional logging.]
Here's a small tip: rename the rule based on what it does to stay on track.
[On Screen: A dialog names the new action, e.g. “Zip files under Backup after 7 years of creation”.]
Once configured, you reduce manual effort, keep the storage optimized over time, and ensure compliance.
Whether your environment is on-premises, hybrid, or cloud-based, SpaceObServer can handle it all. It's built for enterprise scale. And because all scanned data is stored in a backend database, you get fast, repeatable reporting. For businesses, unmanaged data isn't just a storage problem — it's a compliance risk. SpaceObServer brings transparency and automation to storage infrastructure, helping organizations manage data responsibly.
Want to test it out for yourself? Download a free trial today.
[On Screen: The SpaceObServer website shows the “Try for Free” / “Free Download” options and the Web Access and Client Access add-ons.]
|
|
|
|
|
|




Secure Data And Reduce Complexity
SpaceObServer visualizes your storage data down to the file level, to reduce complexity and providing more understanding through analysis and more security through structure!

Reduce complexity in your data storage!
With SpaceObServer, you can separate important information from redundant and outdated data. Create information security through a single source of truth!

Relieve your IT with automation!
SpaceObServer enables the automatic execution of regular processes and defined storage structures. Comprehensive data lifecycle management replaces manual tasks.

Ensure compliance with RBAC!
SpaceObServer enables you to manage and ensure Role Based Access Control (RBAC). This allows you to analyze access rights, track changes at any time and avert risks.
How SpaceObServer Helps Your Storage Management
Control Unstructured Data

- Track storage usage across your storage systems, including Windows Server, SharePoint, Azure Blob Storage, S3 Cloud Storage, and Linux.
- Drill down into storage usage by user, file type, file age, and other metadata, even at the file level.
- Repeat storage scans according to schedule using a background service for constant analysis.
- Enjoy high performance and data sovereignty thanks to on-premises deployment.
- Organize data across multiple drives and storage systems using containers for cross-system analysis.
Predict & Plan Capacity

- Track storage usage over time using historical data and forecasts to anticipate future needs.
- Drill down into size growth by user, file type, file size, and other metadata.
- View and export weekly or monthly growth statistics in various formats, such as PDF, Excel/CSV, and HTML (view a sample PDF report).
Ensure Data Compliance

With its broad tool set, SpaceObServer helps you to enforce individual compliance requirements easily.
- Monitor file permissions and detect policy violations or overexposed folders.
- Identify outdated or sensitive data and enforce retention rules automatically.
- Track permission changes and generate audit-ready compliance reports.
- Ensure naming conventions and prohibit forbidden file types.
- Review all recent changes to ACL permissions with associated metadata for improved security auditing.
Reduce Waste & Duplication

- Detect duplicate files and folders automatically by name, date, size, content (MD5 hash), and other metadata.
- Identify similar folders and compare differences in directory trees in a comparison view.
- Perform bulk file operations to immediately move, archive, or delete duplicates.
Data Migration

- Use a wide range of mass operations on files and folders, such as moving, archiving, deleting, and renaming.
- Migrate file structures from one storage system to another without loss and create a detailed protocol.
- Maintain file permissions during operations and, optionally, leave links in the original locations.
Data Lifecycle Management

- Manage the data lifecycle, accompanying data throughout its entire lifecycle, from creation to deletion.
- Save storage space and ensure compliance with regulations to avoid liability issues.
- Define bulk operations such as moving, archiving or deleting file structures according to your own schedule.
Create Stunning Reports

- Generate customized reports manually or automatically via the UI or, for example, PowerShell scripts.
- Define charts, statistics and details to customize reports to your exact requirements.

Enhance Your SpaceObServer With Our Add-Ons

- Share results with data owners: Give employees in business departments access to SpaceObServer scan data via their web browser.
- Security: Connect via a specific URL+SSO and define role-based permissions for who can access your data.
- Easy Setup: No installation and no admin rights required for end users.
- Ensure Compliance: End Users access is limited to read-only so that your data integrity is never at risk.
- Administrative Control via Desktop App: Administrators can manage scans, schedules perform file operations from their own PCs via a desktop app.
- Includes CAL: Gain Client Access to SpaceObServer.
- Secure Remote Access: Connect from any workstation via authenticated connection to your SpaceObServer database.
- Direct Database Integration: Work with up-to-date results stored in the database which are instantly accessible for analysis.
References
We Help You To Get Started
Show transcription
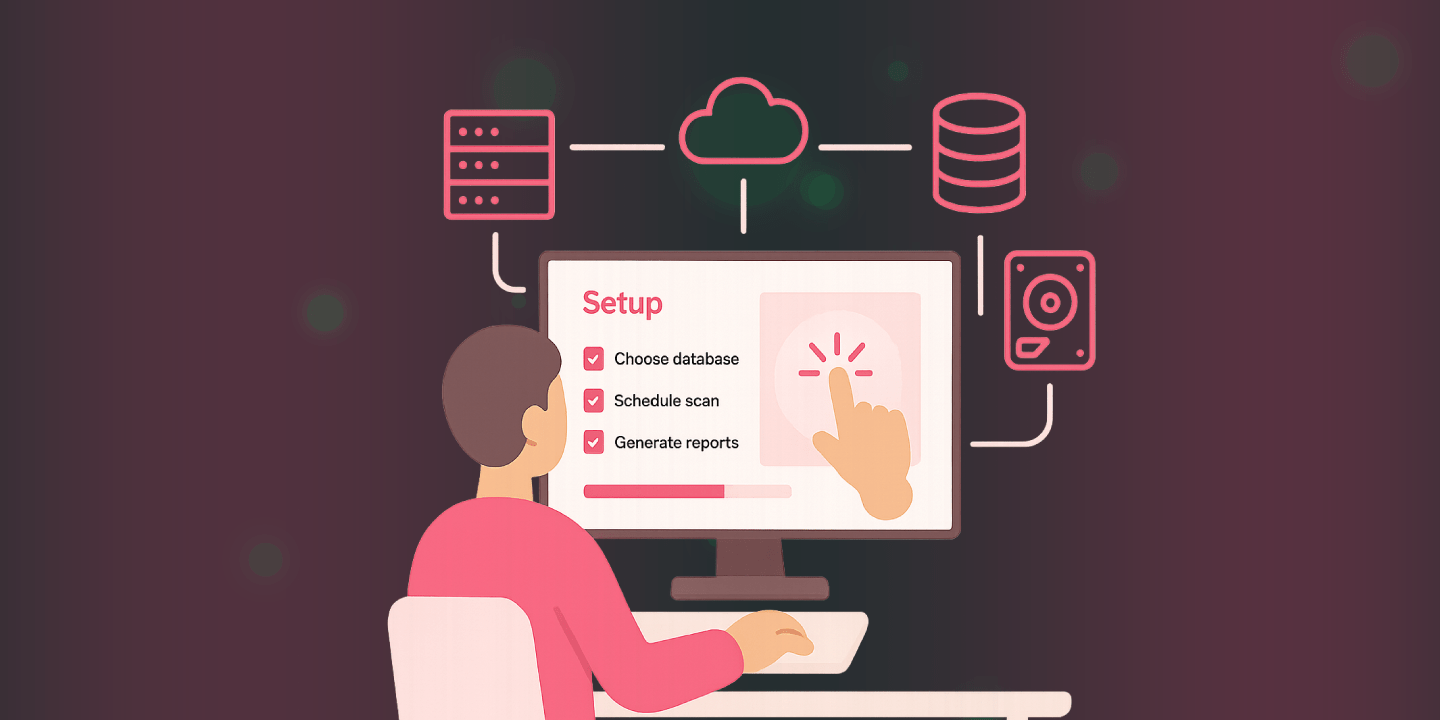
Hello, my name is Severin Novak. I'm in the technical support team here at JAM Software, and today I'm going to show you the first steps in setting up SpaceObServer.
Let's start with the installation. The first thing we need to consider when installing SpaceObServer is the scan service logon account. Basically, SpaceObServer uses a scan service to scan everything, and you want to decide during the installation whether you want to use a dedicated account. Otherwise, SpaceObServer will use the standard service account, which might lead to a connection problem with the database when you use Windows authentication for the connection. So let's just enter my credentials here, and then we can continue.
[On Screen: A window titled "Setup - SpaceObServer" is shown. The presenter enters a user name, a domain, and a password, then clicks "Next >". A dialog briefly appears showing "Installing / Starting SpaceObServer System Service". Soft, quiet background music plays.]
When first opening SpaceObServer, it shows you a message where you can choose which database you want to use. There are a few different types of database you can use with SpaceObServer. For example, you can use an existing SQL Server, such as MS SQL, MySQL, or Oracle, you could install a free SQL Express (MS SQL Express) version, or you can use the SpaceObServer embedded database. One thing to note is that the embedded database is easy to use because SpaceObServer configures everything automatically, but we only recommend it for testing purposes or with small amounts of data, because performance with the embedded database is not good with larger amounts of data. You can also install a free SQL Express version, which is more capable of dealing with larger data, but the SQL Express version has a limit of 10 gigabytes per database, which – depending on what you want to scan – might be reached with SpaceObServer. So in larger environments we always recommend using an existing SQL Server such as MySQL, MS SQL, or Oracle.
So we just set up the database connection. As you can see on the bottom left, we already have some scans configured in this database, but we'll just start with a new scan from scratch. For this, I'm going to click on "Add Scan", and I get a window where I can configure what I want to scan. For example, I can go to "More" here and then select something that I want to scan, for example my picture folder.
Then I can directly set up a schedule for how often SpaceObServer should update the data of the scan, so that I always have up-to-date data for this particular scan. For example, I can set it to run every day at 8 o'clock in the morning.
[On Screen: Under "Schedule", the presenter selects "Every Day", enters "08:00" as the "Scan Time", and ticks the "Execute initial scan after creation" checkbox. Keys are clacking.]
Here we have some additional options we can choose when configuring a scan. For example, a different user account to scan a directory, or I can choose to calculate MD5 checksums for more accurate duplicate detection, which I'll select now. I can also calculate permissions and store them in the database, which allows me to check permissions on files and folders. Both of these options may affect the scanning speed, so they are normally deactivated.
After we've created a scan, I can go to "Scan" > "Configure Scans" and view all the different scans that I've set up here. I can then reconfigure anything, such as the settings I made earlier, or update the schedule I want to use. I can also set how long I want to keep scan data in the database per scan, or configure some extra filters and other settings for the different scans.
One thing to note here is that I have some containers configured. What a container does is basically group different scans together. I can also group containers into other containers to create a hierarchical structure. For example, I can take this test container and group it into a different container, and also group the "multiple scan targets" container into a container. I can then load the entire container and get all the analysis for the complete container, not only for the single scan targets.
Another thing that is specific to SpaceObServer is that it can create automatic reports based on your scan schedule configuration. You can find those in the scan configuration under "Post-Scan Actions" > "Automated Reporting". Post-scan actions are basically things that SpaceObServer triggers after a scan has finished. For example, I have a post-scan action here under "Automated Reporting" that can generate different files and views from the SpaceObServer UI directly after a scan has finished, or it could be sent via email directly to me. When adding a post-scan action, I can configure what I want to export under "Export". Every post-scan action is based on the directory tree. I can then select the file format that I want to export. For example, I'm just going to export an Excel file here, and I can also include different charts or lists, such as the duplicate files list, to be exported.
[On Screen: A file dialog opens. The presenter types "Duplicated.csv" into the "File name" field and clicks "Open" at the bottom right of the window. Keyboard clicking can be heard.]
So I can export basically every view available in SpaceObServer. If I save this task, I can name it, and it will be generated automatically after each scan. Here we can see the different files that I've created for this particular scan. If I open it, I get an Excel file with the regular scan, which is basically the directory tree of the export. I also get the duplicate files directly in the Excel file as well.
For post-scan actions, you also have the option for data lifecycle operations, which are configured to be done after the scan. If I add one, I can configure a maximum file age for different files. For example, if I only want to affect files that haven't been modified in the last 2 years, I can configure this and, for example, delete those files or move them to a different location. I also have some other options for this operation, such as creating a log to see what happened during these operations, deleting empty directories, or a range of other options that I can configure for this file operation based on the timestamp. I can also name it and create it for each scan, if I want to manage files based on the different ages of the files.
That's all. Thank you for watching our video. Find more information about SpaceObServer on our website, and see you again soon.
Need more help? Let us help you set up SpaceObServer for the first time with first-class live support from our product team and secure your data today. Just give it a try!
Frequently Asked Questions
What is SpaceObServer?
SpaceObServer is the storage management and reporting solution for your servers. It observes storage on your system continuously and archives file system information in a SQL database.
What's the difference between TreeSize and SpaceObServer?
While TreeSize can show its full strength when scanning smaller systems, SpaceObServer is the solution for medium to large server landscapes.
TreeSize scans file system structures as needed and holds a snapshot of the scan in your system memory. SpaceObServer, on the other hand, archives all needed file system information in a backend database to calculate size development.
SpaceObServer shows you detailed statistics from the start and lets you apply filters without the need of any rescan.
See our comparison for more information:
Which storage systems does SpaceObServer support?
SpaceObServer can observe Windows servers as well as SharePoint, Amazon S3 Cloud Storage, Azure Blob Storage and Linux/Unix server systems.
Does SpaceObServer transmit sensitive data?
No, SpaceObServer does not transmit any kind of sensitive data from your storage systems.
SpaceObServer collects file system information only locally in the scan database.
Do I need SpaceObServer DataCentral or Enterprise Edition?
SpaceObServer offers two editions: DataCentral (former: Standard Edition) and Enterprise.
DataCentral is your solution for simple scanning of multiple storage systems without the need for automation.
With the Enterprise Edition, on the other hand, you can scan multiple servers and benefit from automated reporting, Data Lifecycle Management as well as OLE Automation.
See our comparison for more information.
Does SpaceObServer require a license for access?
Yes, SpaceObServer does require the SpaceObServer Client Access Single License, comparable to a CAL.
But every purchase of SpaceObServer regardless of the edition comes with a SpaceObServer Client Access license.
Additional clients beyond this single access license do require licensing via the SpaceObServer Client Access Add-On. It also includes the Remote Client for SpaceObServer as an additional software.
Your Data Safe in Your Hands

Our on-premises software puts you back in control of your data. Our solutions work entirely without cloud services - your data always stays with you.
And to ensure GDPR compliance at all times, our servers are located in Germany, today and tomorrow.